Team:Newcastle/22 June 2010
From 2010.igem.org

| |||||||||||||
| |||||||||||||
Contents |
Aims
The aim of today's Lab practice was to extract the plasmids for GFP and RFP, digest the 2 plasmids and extract the 2 inserts and 1 of the backbones (vector)from an agarose gel. From this a ligation was set up.
Materials and Protocol
QIagen Miniprep Kit Using a Microcentrifuge for Plasmid Extraction
Please refer to: Qiagen Minipreps for materials required and protocol.
Digest
Please refer to: Restriction digests for materials required and protocol.
Gel extraction
Please refer to: Gel extraction for materials required and protocol.
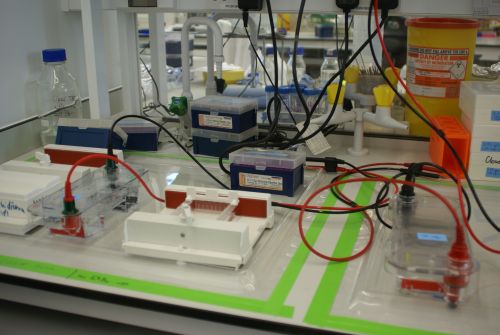
Agarose Gel Electrophoresis
Please refer to: Gel electrophoresis for materials required and protocol.
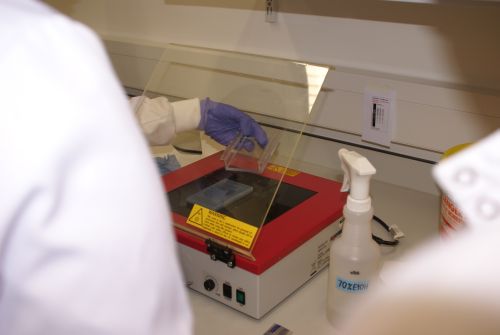
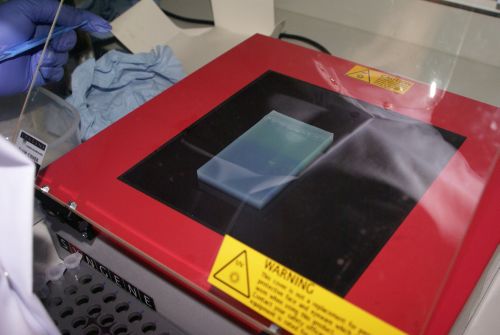
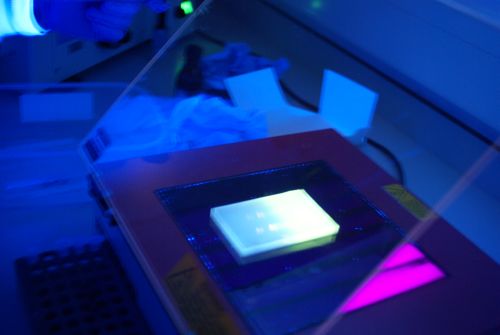
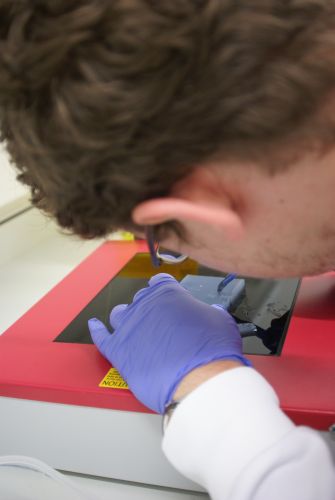
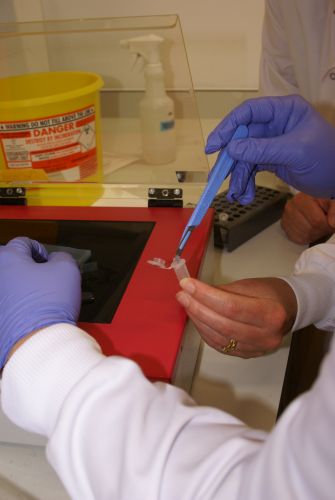
Cut gel out
We cut the inserts which were about 900bp and we use the backbone from the RFP plasmid.
QIAquick Gel extraction kit
The DNA fragments are cut from the agarose gel with a scalpel. Three parts of QG buffer is added to one part of gel and the mixtures are dissolved at the temperature of 50°C. The tubes are vortexed every 2-3 minutes to help dissolve the gel. 1 part of isopropanol is added to the sample and mix. The microcubes were spinned in the microfuge for 1 minute.
QIAquick gel extraction microcentrifuge protocol
- Excise the DNA fragment from the agarose gel with a clean, sharp scalpel
- Weight the gel slice and add 3 volumes of buffer QG to 1 volume of gel (100 mg ~ 100 µl)
- Incubate at 50°C and invert the tube gently at regular intrerval until the gel has completely dissolved
- After the gel has dissovled completely, check that the color of the mixture is yellow
- Add 1 gel volume of isopropanol to the sample and mix
- Place a QIAquick spin column in a 2 ml collection tube
- To bind DNA, apple the sample to the QIAquick column and centrifuge for 1 min
- Discard the flow through and place the QIAquick column back into the same tube (Maximum volumn is 750ul)
- Add 0.5 ml of Buffer QG to QIAquick column and centrifuge for 1 min and discard the flow through and place the QIAquick column back into the same tube
- To wash, add 0.75 ml of Buffer PE to QIAquick column and centrifuge for 1 min and place the QIAquick column back into the same tube
- Centrifuge the column for a further 1 min
- Transfer the column into a clean 1.5 ml micriocentrifuge tube
- To elute DNA, add 30 µl of Buffer EB to the center of the QIAquick membrane and allow to stand for 1 min
- Centrifuge the column for 1 min and transfer the eluate to a clean 1.5 ml micriocentrifuge tube
Weighing
All gel extractions weighed 0.3g.
Set up ligation
| Reagents | 1:3(μl) | 1:5(μl) | Vector(μl) |
|---|---|---|---|
| V | 0.8 | 0.8 | 1 |
| G | 2.7 | 4 | |
| R | 5.4 | 7.7 | |
| LT4 | 1 | 1 | 1 |
| LB | 1.1 | 1.5 | 1 |
| H2O | 0 | 0 | 7 |
| Total Volume | 11.0 | 15.0 | 10.0 |
Transformation protocol
- Thaw a 200µl aliquot of the desired strain of E. coli and add the transforming DNA (10 ng of vector DNA in 10 µl). Incubate for 45 min at 42°C.
- Heat-shock the cells for 120 secs, and place on ice again for 3-4 min.
- Add 1ml of LB broth and incubate the cells at 37°C for 1-15 hr in a water bath with gentle shaking.
- Plate out 100-200 µl/plate on LB (agar at 1.5%), containing the appropriate selection markers.
- Incubate plates overnight at 37°C.
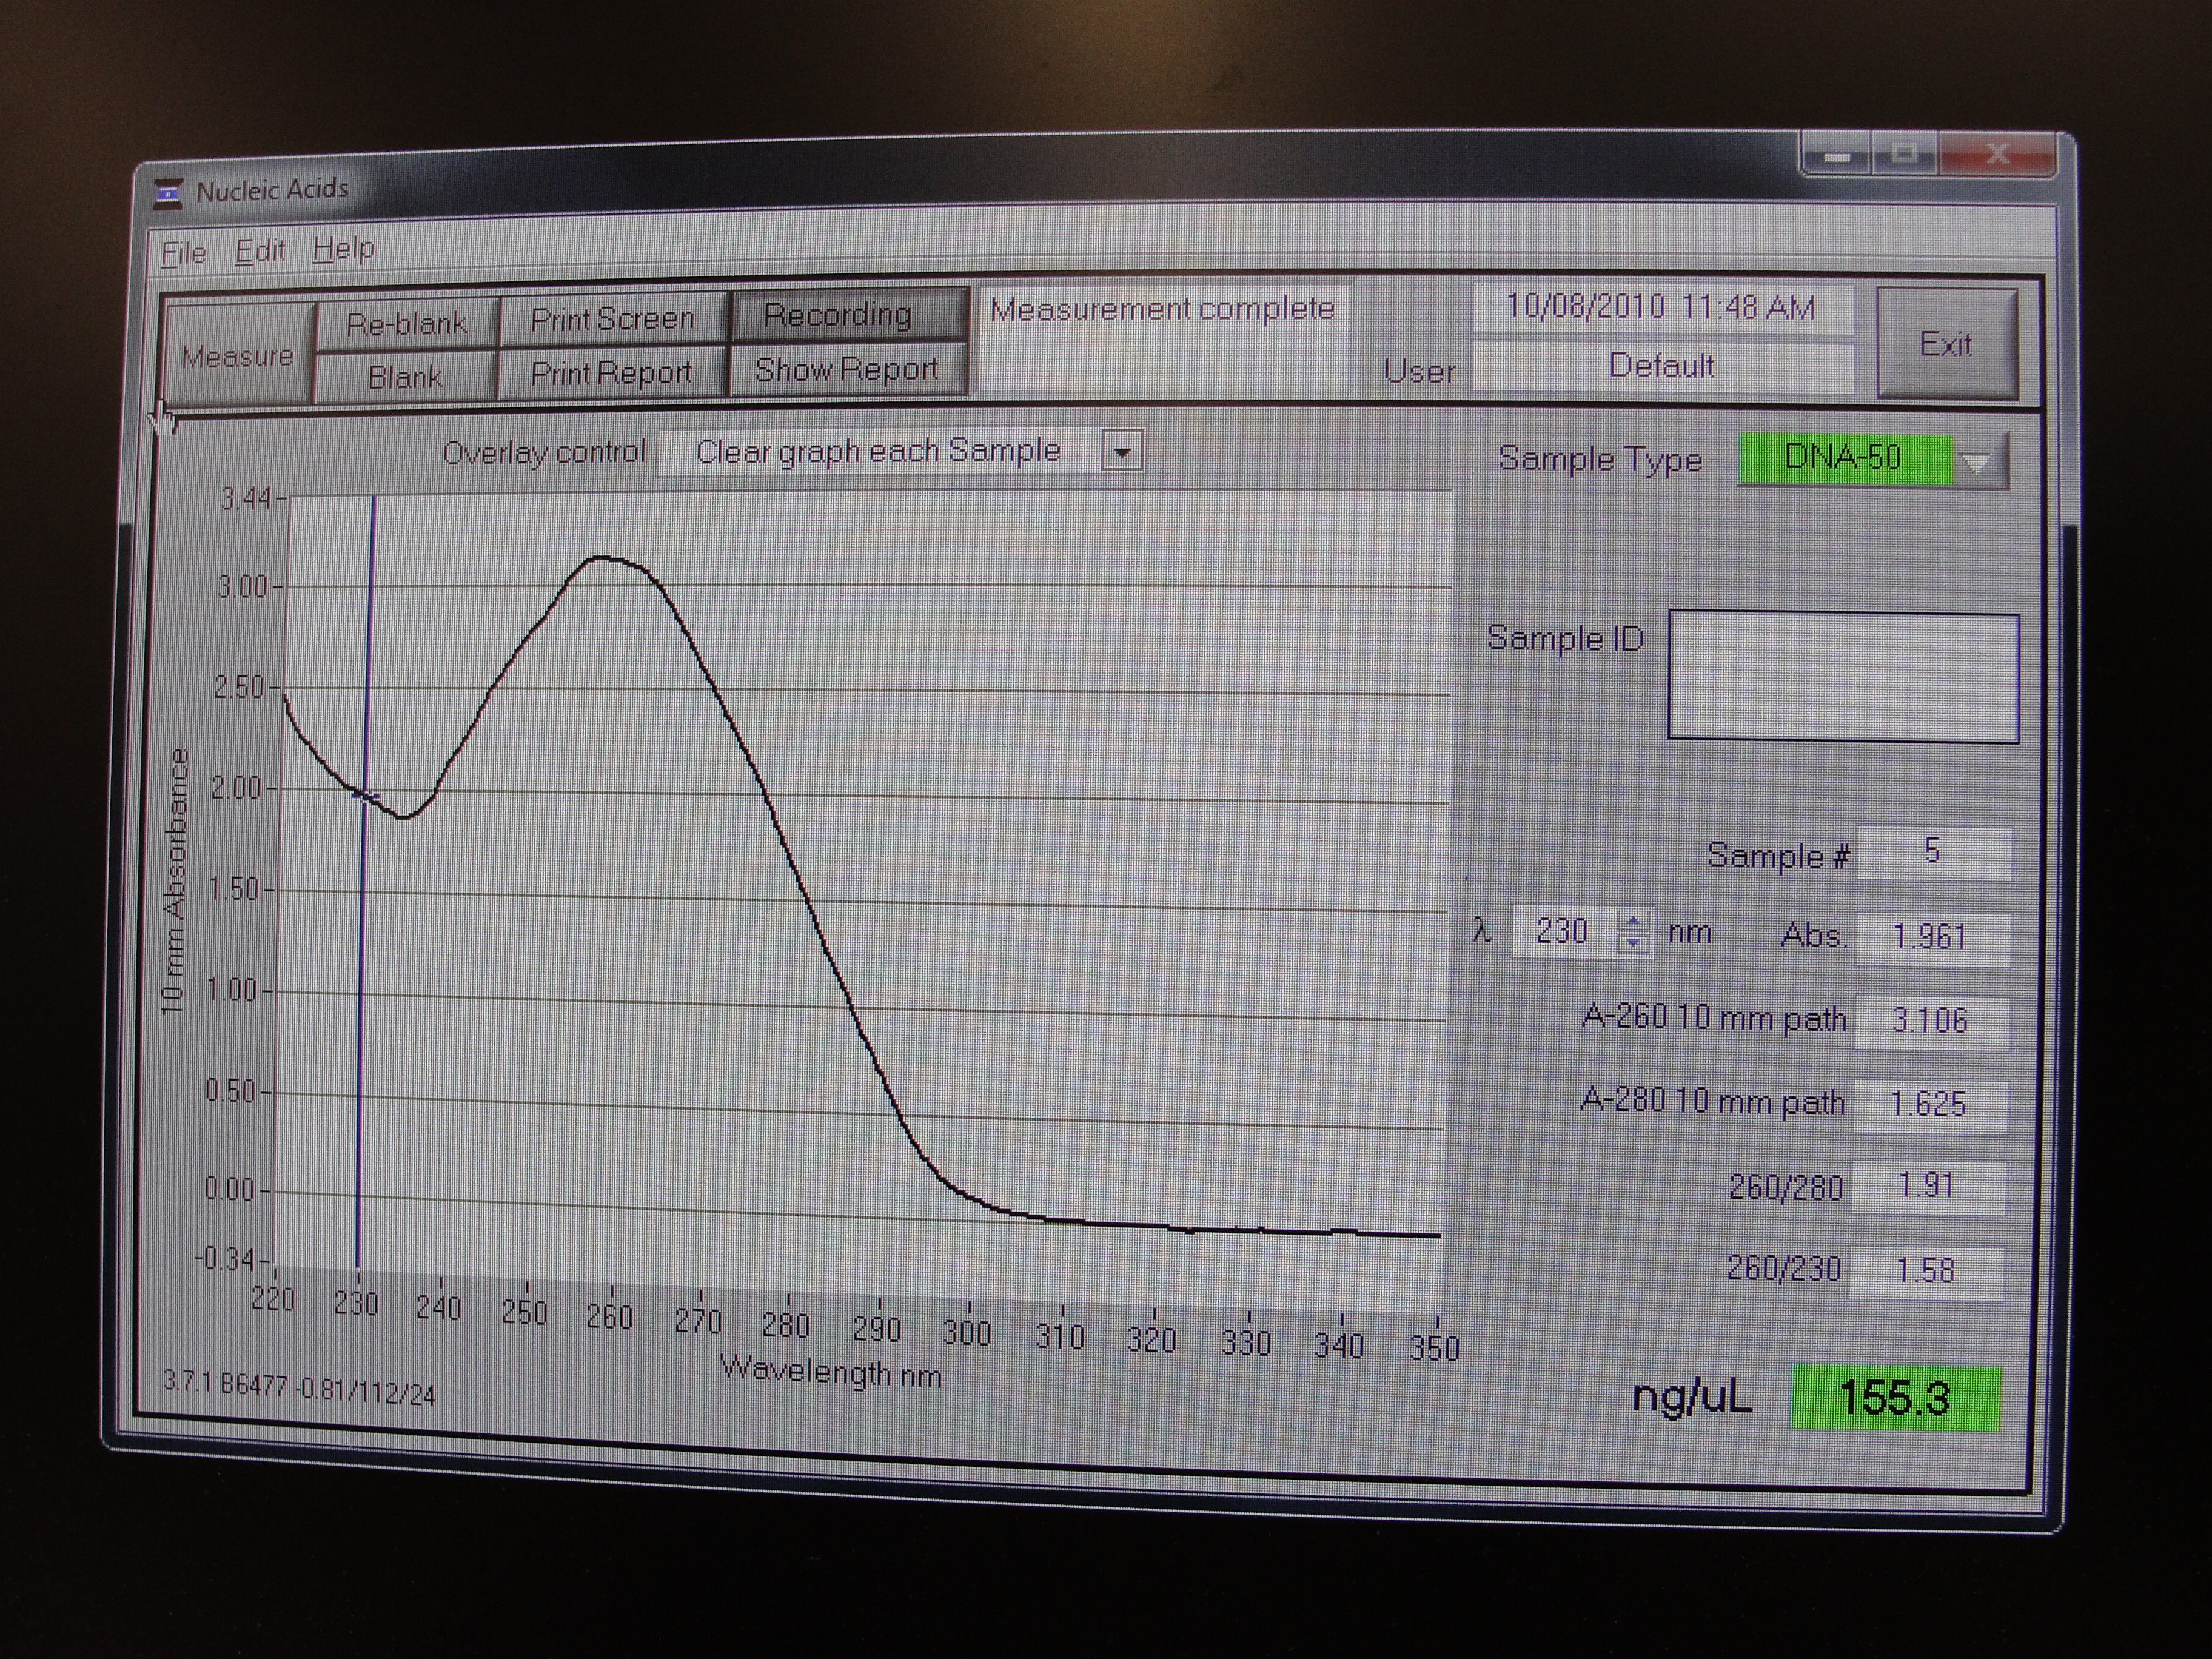
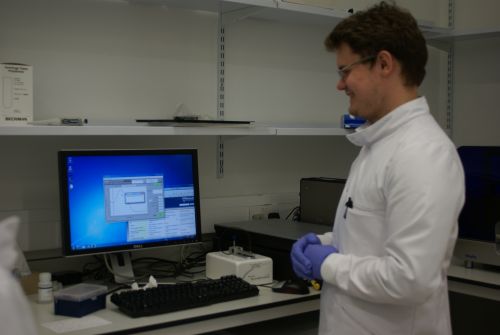
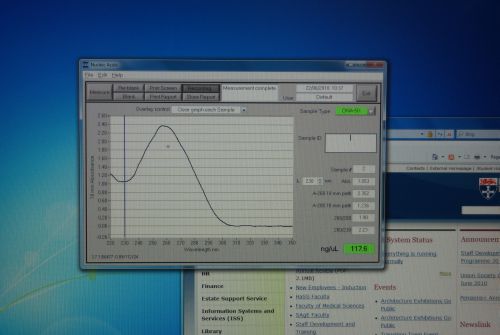
Nanodrop Protocol
Nanodrop can be used to measure the DNA, RNA and protein
- Select Nanodrop program from the desktop
- To clean Nanodrop, add a drop of water on the spectrometer and press blank
- After cleaning, wipe the water off
- To equalizen the equipment, add 3 μl of the buffer used in the sample and press blank
- Wipe the buffer off
- To measure sample, add 3 μl of the sample and press measure
- If dealing with multiple samples, clean the equipment with water at regular intervals
- After measurement, clean the equipment with a drop of water on the spectrometer and press blank
Outcome
| Home | Team | Official Team Profile | Project | Parts Submitted to the Registry | Modelling | Notebook | Safety |
|---|
 
|
 "
"
