Team:Baltimore US/Notebook/EPInstructions
From 2010.igem.org
| Line 17: | Line 17: | ||
__NOTOC__ | __NOTOC__ | ||
| | | | ||
| - | |||
| - | + | == Building a cheap Electrophoresis == | |
| + | To construct the cheap electrophoresis that we have designed you need several parts. All of the components of the electrophoresis are laser cut acrylic of .220" thickness. The design can be modified to use any thickness that is around .220". If you do not possess your own laser cutter or do not have access to one, the parts can be laser cut using several online services such as Ponoko (http://www.ponoko.com/), Pololu (http://www.pololu.com/catalog/product/749), or any other laser cutting service. Note that this does increase the price of the electrophoresis as can be expected from any small quantity machine shop. The design files and list of materials are included at the bottom of this page. | ||
| - | + | ==== Parts ==== | |
| + | The following parts are needed: | ||
| + | <gallery> | ||
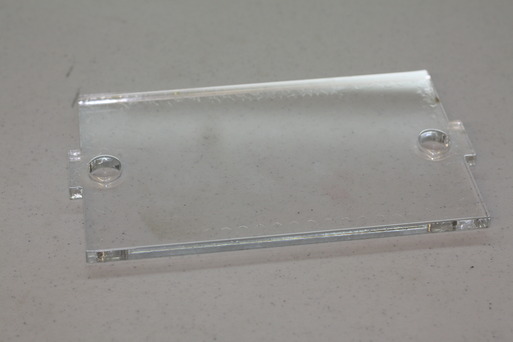
| + | Image:Baltimore US Parts1.jpg |Holder Sides | ||
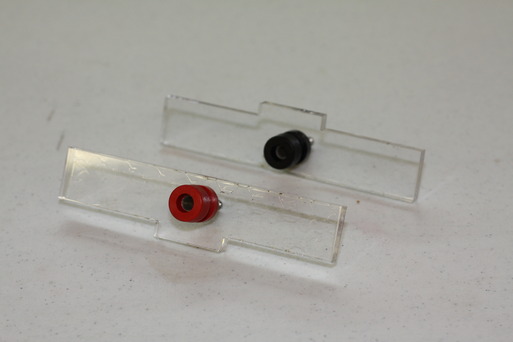
| + | Image:Baltimore US Parts2.jpg |Anode/Cathode Holders | ||
| + | Image:Baltimore US Parts3.jpg |Lid with Interlock | ||
| + | Image:Baltimore US Parts4.jpg |Base | ||
| + | Image:Baltimore US Parts5.jpg |Long Sides | ||
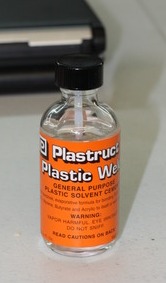
| + | Image:Glue1.jpg |Plastruct weld | ||
| + | Image:Glue2.jpg |Silicone Caulk | ||
| + | Image:Baltimore_US_Not_Pictured.jpg |Conducting Plates | ||
| + | </gallery> | ||
| - | |||
| - | [[Image:Build5.jpg]] | + | ==== Construction ==== |
| + | 1. Get the two Holder sides and the base. <br> | ||
| + | [[Image:Build1.jpg|200px]]<br> | ||
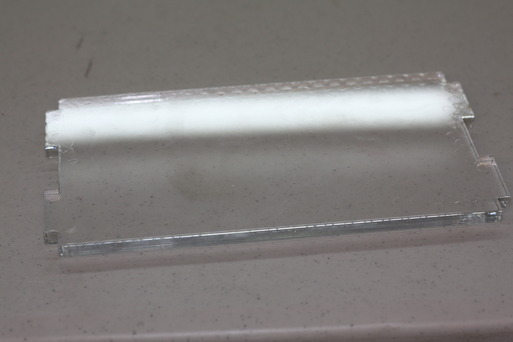
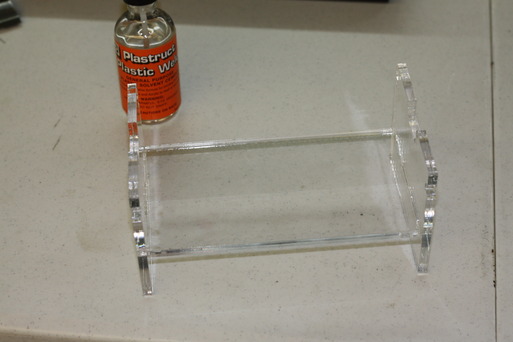
| + | 2. Glue the two Holder sides to the base using Plastruct Weld. Hold this together for five minutes. <br> | ||
| + | [[Image:Build2.jpg|200px]]<br> | ||
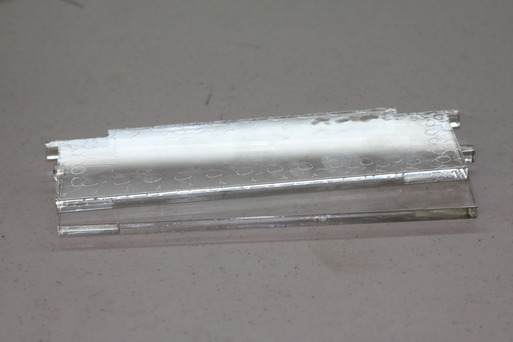
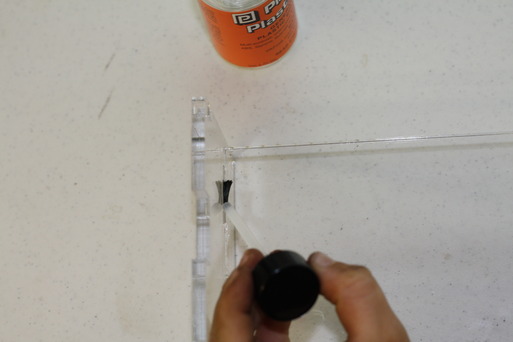
| + | 3. If needed, brush more Plastruct weld into the cracks to ensure a seal. Hold this together. <br> | ||
| + | [[Image:Build3.jpg|200px]]<br> | ||
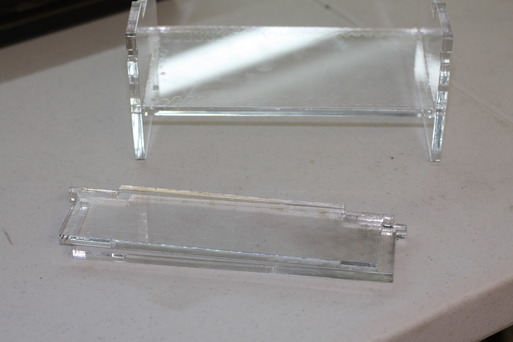
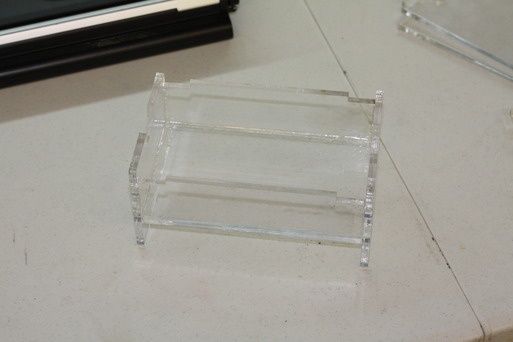
| + | 4. Get the long sides and the previously constructed holder. <br> | ||
| + | [[Image:Build4.jpg|200px]]<br> | ||
| + | 5. Glue the long sides to the previously constructed holder using Plastruct Weld. If needed brush more in the cracks.<br> | ||
| + | [[Image:Build5.jpg|200px]]<br> | ||
| + | 6. Wait 24 hours for the Plastruct to set. <br> | ||
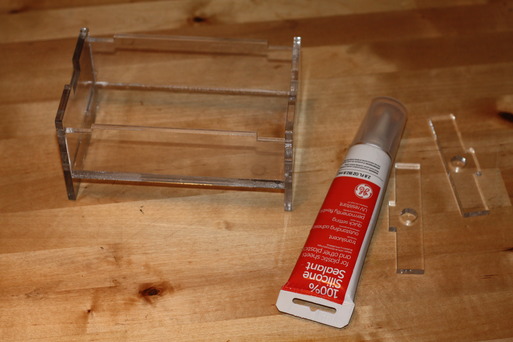
| + | 7. Get the silicone caulk and the construct. <br> | ||
| + | [[Image:Build6.jpg|200px]]<br> | ||
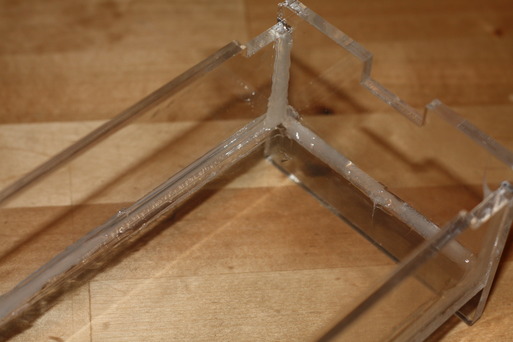
| + | 8. Caulk the construct on all of the inside seams. <br> | ||
| + | [[Image:Build7.jpg|200px]]<br> | ||
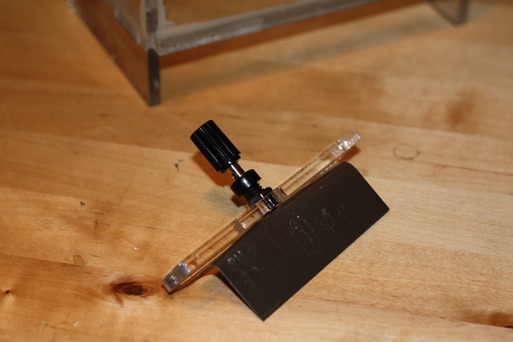
| + | 9. Get the anode/cathode holders and conducting plates. Screw a plate onto the anode and cathode. <br> | ||
| + | [[Image:Build8.jpg|200px]]<br> | ||
| - | |||
| - | [[Image: | + | ==== Finished Device ==== |
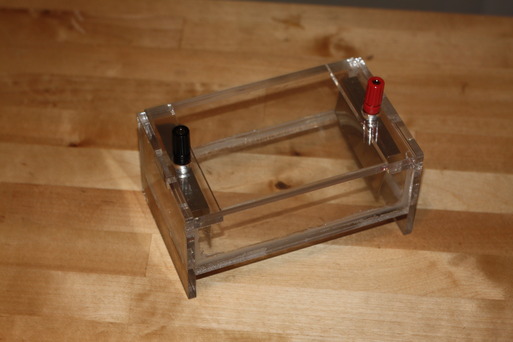
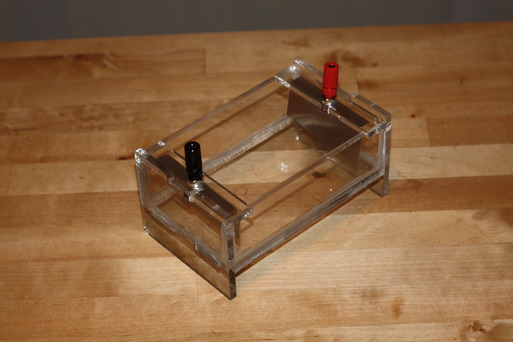
| + | [[Image:EP.jpg|400px]] [[Image:EP2.jpg|400px]] | ||
| - | |||
| + | ==== Design Files ==== | ||
| - | |||
| - | |||
| - | |||
| - | |||
|} | |} | ||
Revision as of 16:42, 27 October 2010
| Home | Team | Official Team Profile | Project | Submitted Parts | Modeling | Notebook | Meeting/Lab Times | Safety |
|---|
Building a cheap ElectrophoresisTo construct the cheap electrophoresis that we have designed you need several parts. All of the components of the electrophoresis are laser cut acrylic of .220" thickness. The design can be modified to use any thickness that is around .220". If you do not possess your own laser cutter or do not have access to one, the parts can be laser cut using several online services such as Ponoko (http://www.ponoko.com/), Pololu (http://www.pololu.com/catalog/product/749), or any other laser cutting service. Note that this does increase the price of the electrophoresis as can be expected from any small quantity machine shop. The design files and list of materials are included at the bottom of this page. PartsThe following parts are needed:
Construction1. Get the two Holder sides and the base.
Finished Device
Design Files |
 "
"


