Team:ETHZ Basel/InformationProcessing/InformationFlow
From 2010.igem.org
Information Flow
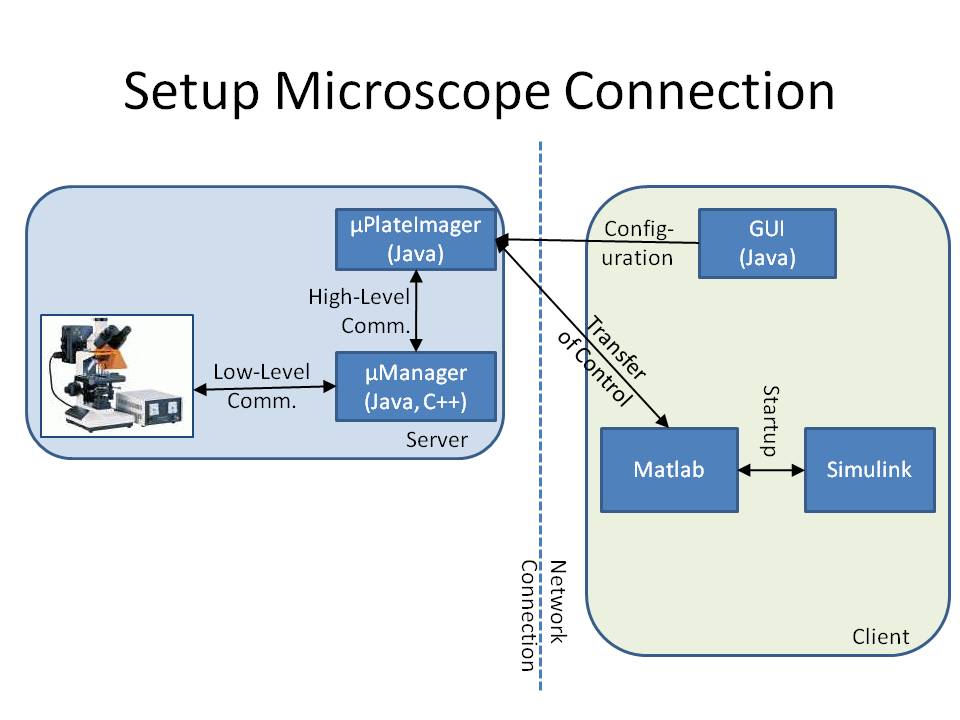
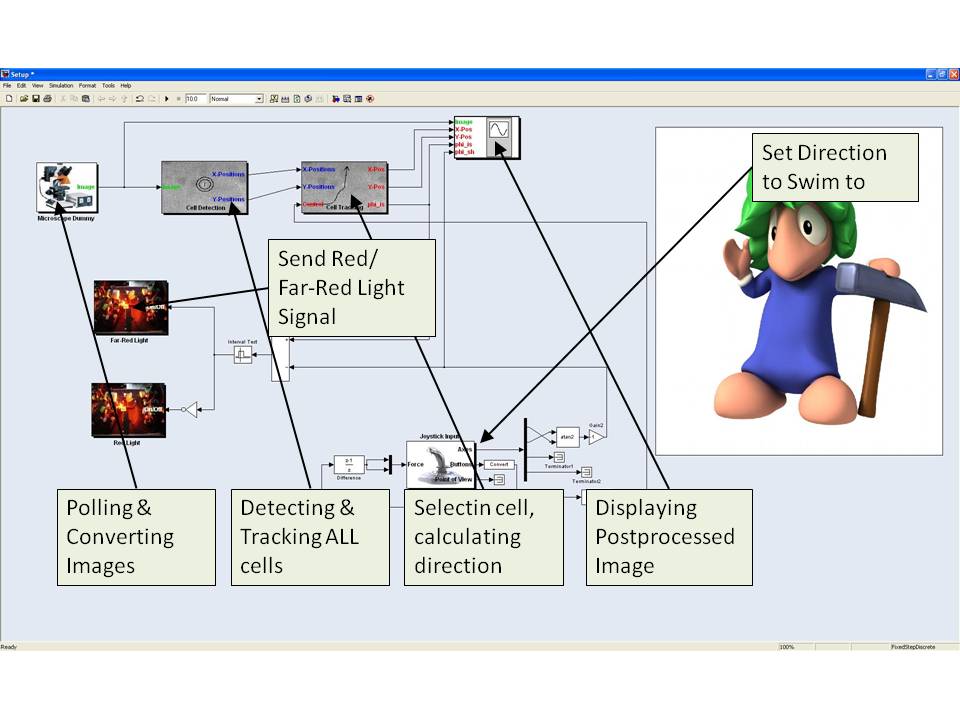
The microscope is connected to a workstation using the core drivers and interfaces of μManager (see Stuurman et al. (2007) or [http://www.micro-manager.org]). To provide a mechanism to change the cell's input signal depending on its fluorescence signal, we developed the microscope software μPlateImager, which enables for parallel acquisition of images and the modification of light input signals. μPlateImager uses the Java interface of the μManager core to control the microscope and can be configured by a separate platform-independent visual user interface. Since the communication with the microscope already requires a significant amount of system resources, it was necessary to swap the image processing, cell detection, and controller part to a second workstation to increase the possible frame rate. μPlateImager can therefore be controlled over the network or the internet by a GUI (graphical user interface). This GUI uses the yet undocumented Java MATLAB Interface (JMI) to start up a Matlab (The MathWorks, Natick, MA) process based on the open source project matlabcontrol (see [http://code.google.com/p/matlabcontrol/]). It furthermore starts up a Simulink model and transfers the microscope control to several of the blocks of the Lemming Toolbox, a Simulink toolbox allowing for the block based interconnection of the main controller and image processing parts, like cell detection, tracking the visualization or the like.
Toolkit (Simulink)
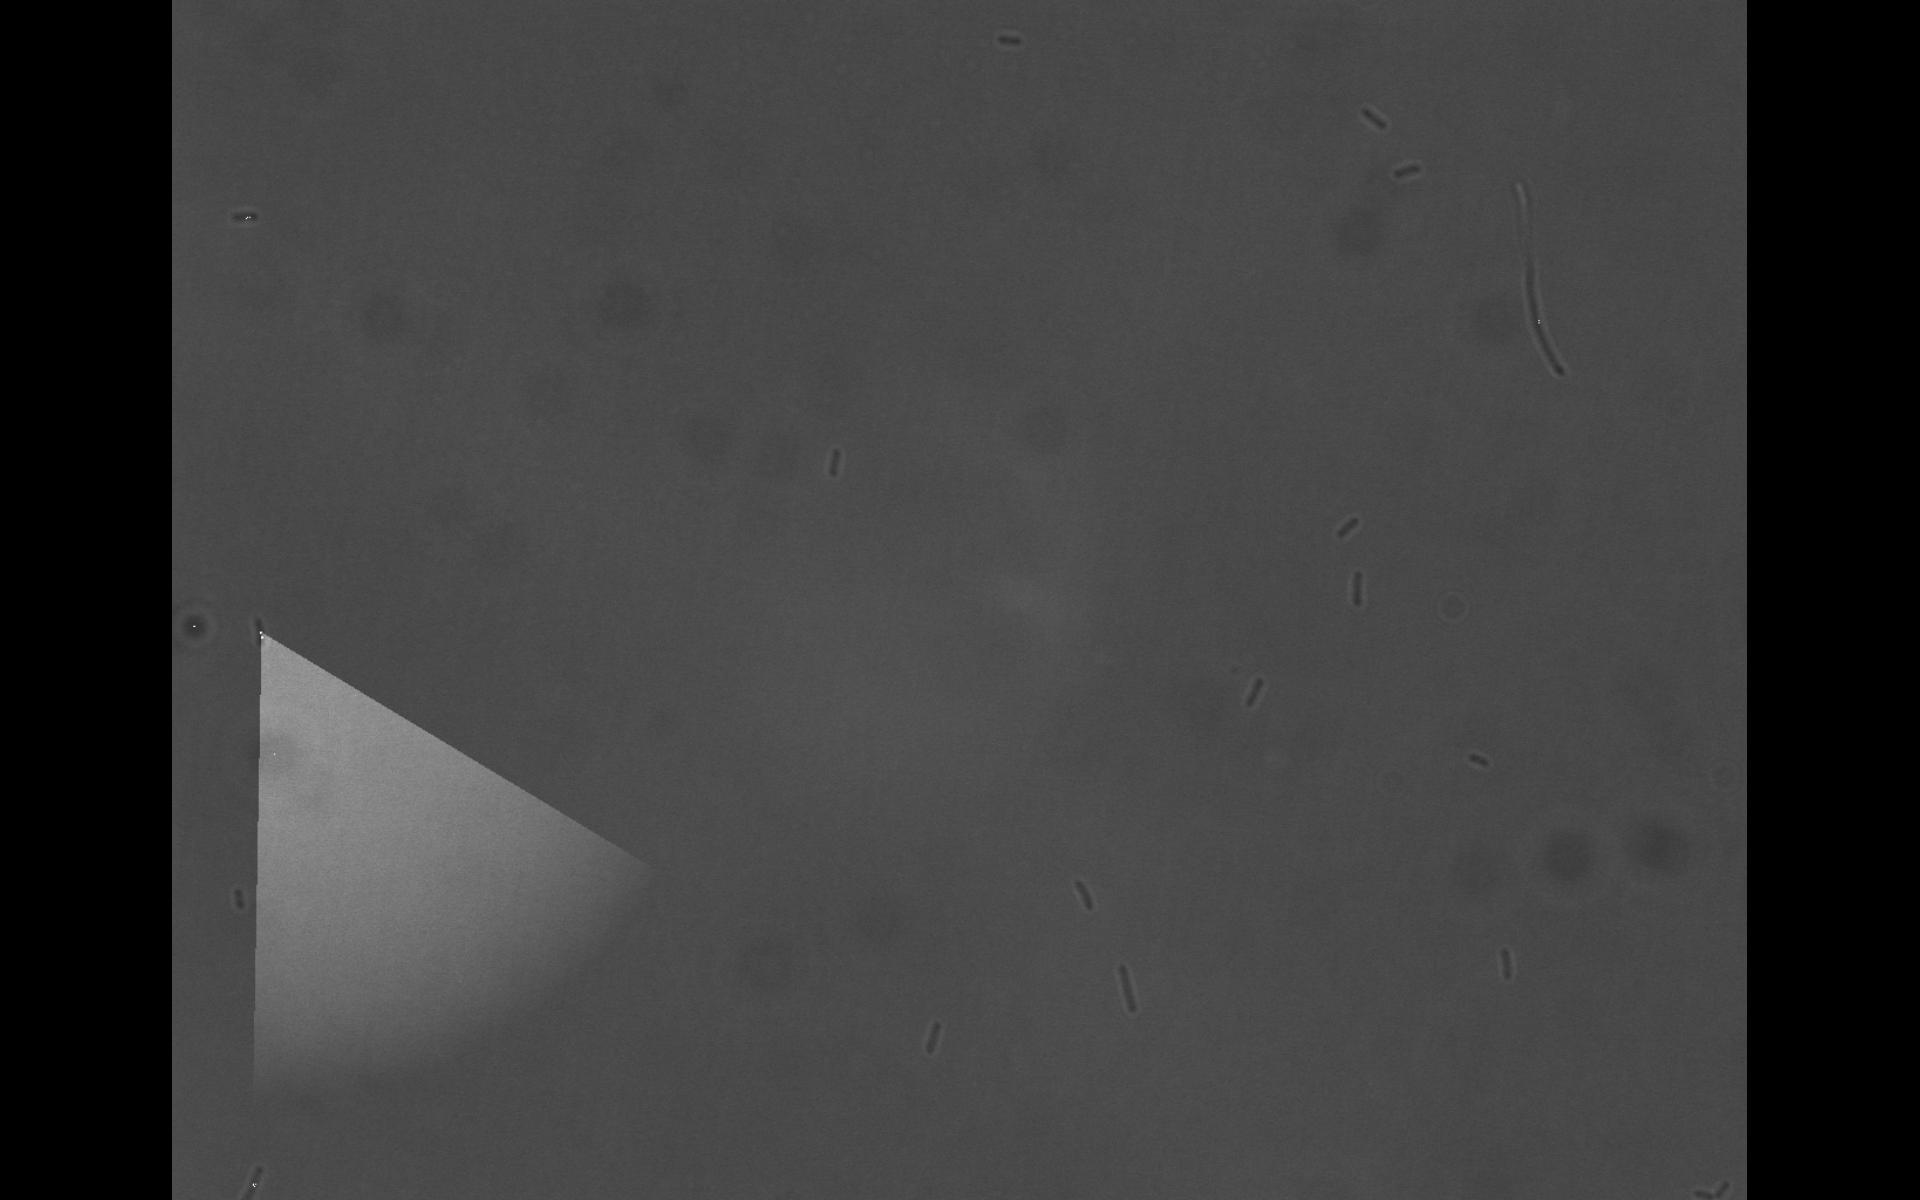
The direction of the cell is automatically compared to the direction it should go. This direction can be intuitively defined by the user using a joystick. The force feedback functionality of the joystick is used to give the user an intuitive feedback of the current direction of the E. lemming. If the difference between the actual direction of the E. lemming and the direction the user defined is too high, tumbling is automatically induced by a red light (660nm) pulse. Otherwise tumbling is supressed by a far red light (748nm). Alternatively the user can induce the pulses directly using the buttons of the joystick.
If the cell is moving out of the image the microscope moves automatically such that the cell is always approximately in the center of the image.
 "
"


