Team:Baltimore US/Notebook/DIYEquipment
From 2010.igem.org
(Difference between revisions)
(→Designs) |
|||
| (9 intermediate revisions not shown) | |||
| Line 6: | Line 6: | ||
!align="center"|[https://igem.org/Team.cgi?year=2010&team_name=Baltimore_US <span style="color:white;">Official Team Profile</span>] | !align="center"|[https://igem.org/Team.cgi?year=2010&team_name=Baltimore_US <span style="color:white;">Official Team Profile</span>] | ||
!align="center"|[[Team:Baltimore_US/Project|<span style="color:white;">Project</span>]] | !align="center"|[[Team:Baltimore_US/Project|<span style="color:white;">Project</span>]] | ||
| - | !align="center"|[[Team:Baltimore_US/Parts|<span style="color:white;"> | + | !align="center"|[[Team:Baltimore_US/Parts|<span style="color:white;">Submitted Parts</span>]] |
!align="center"|[[Team:Baltimore_US/Modeling|<span style="color:white;">Modeling</span>]] | !align="center"|[[Team:Baltimore_US/Modeling|<span style="color:white;">Modeling</span>]] | ||
!align="center"|[[Team:Baltimore_US/Notebook|<span style="color:white;">Notebook</span>]] | !align="center"|[[Team:Baltimore_US/Notebook|<span style="color:white;">Notebook</span>]] | ||
| - | !align="center"|[[Team:Baltimore_US/MeetingTimes|<span style="color:white;">Meeting/Lab Times | + | !align="center"|[[Team:Baltimore_US/MeetingTimes|<span style="color:white;">Meeting/Lab Times</span>]] |
!align="center"|[[Team:Baltimore_US/Safety|<span style="color:white;">Safety</span>]] | !align="center"|[[Team:Baltimore_US/Safety|<span style="color:white;">Safety</span>]] | ||
|} | |} | ||
| - | |||
__NOTOC__ | __NOTOC__ | ||
| - | |||
{| style= "background-color:#FFFFF;" width="924px" align="center" | {| style= "background-color:#FFFFF;" width="924px" align="center" | ||
| | | | ||
<BR> | <BR> | ||
== DIY Equipment Notes == | == DIY Equipment Notes == | ||
| + | ==== Designs ==== | ||
| + | |||
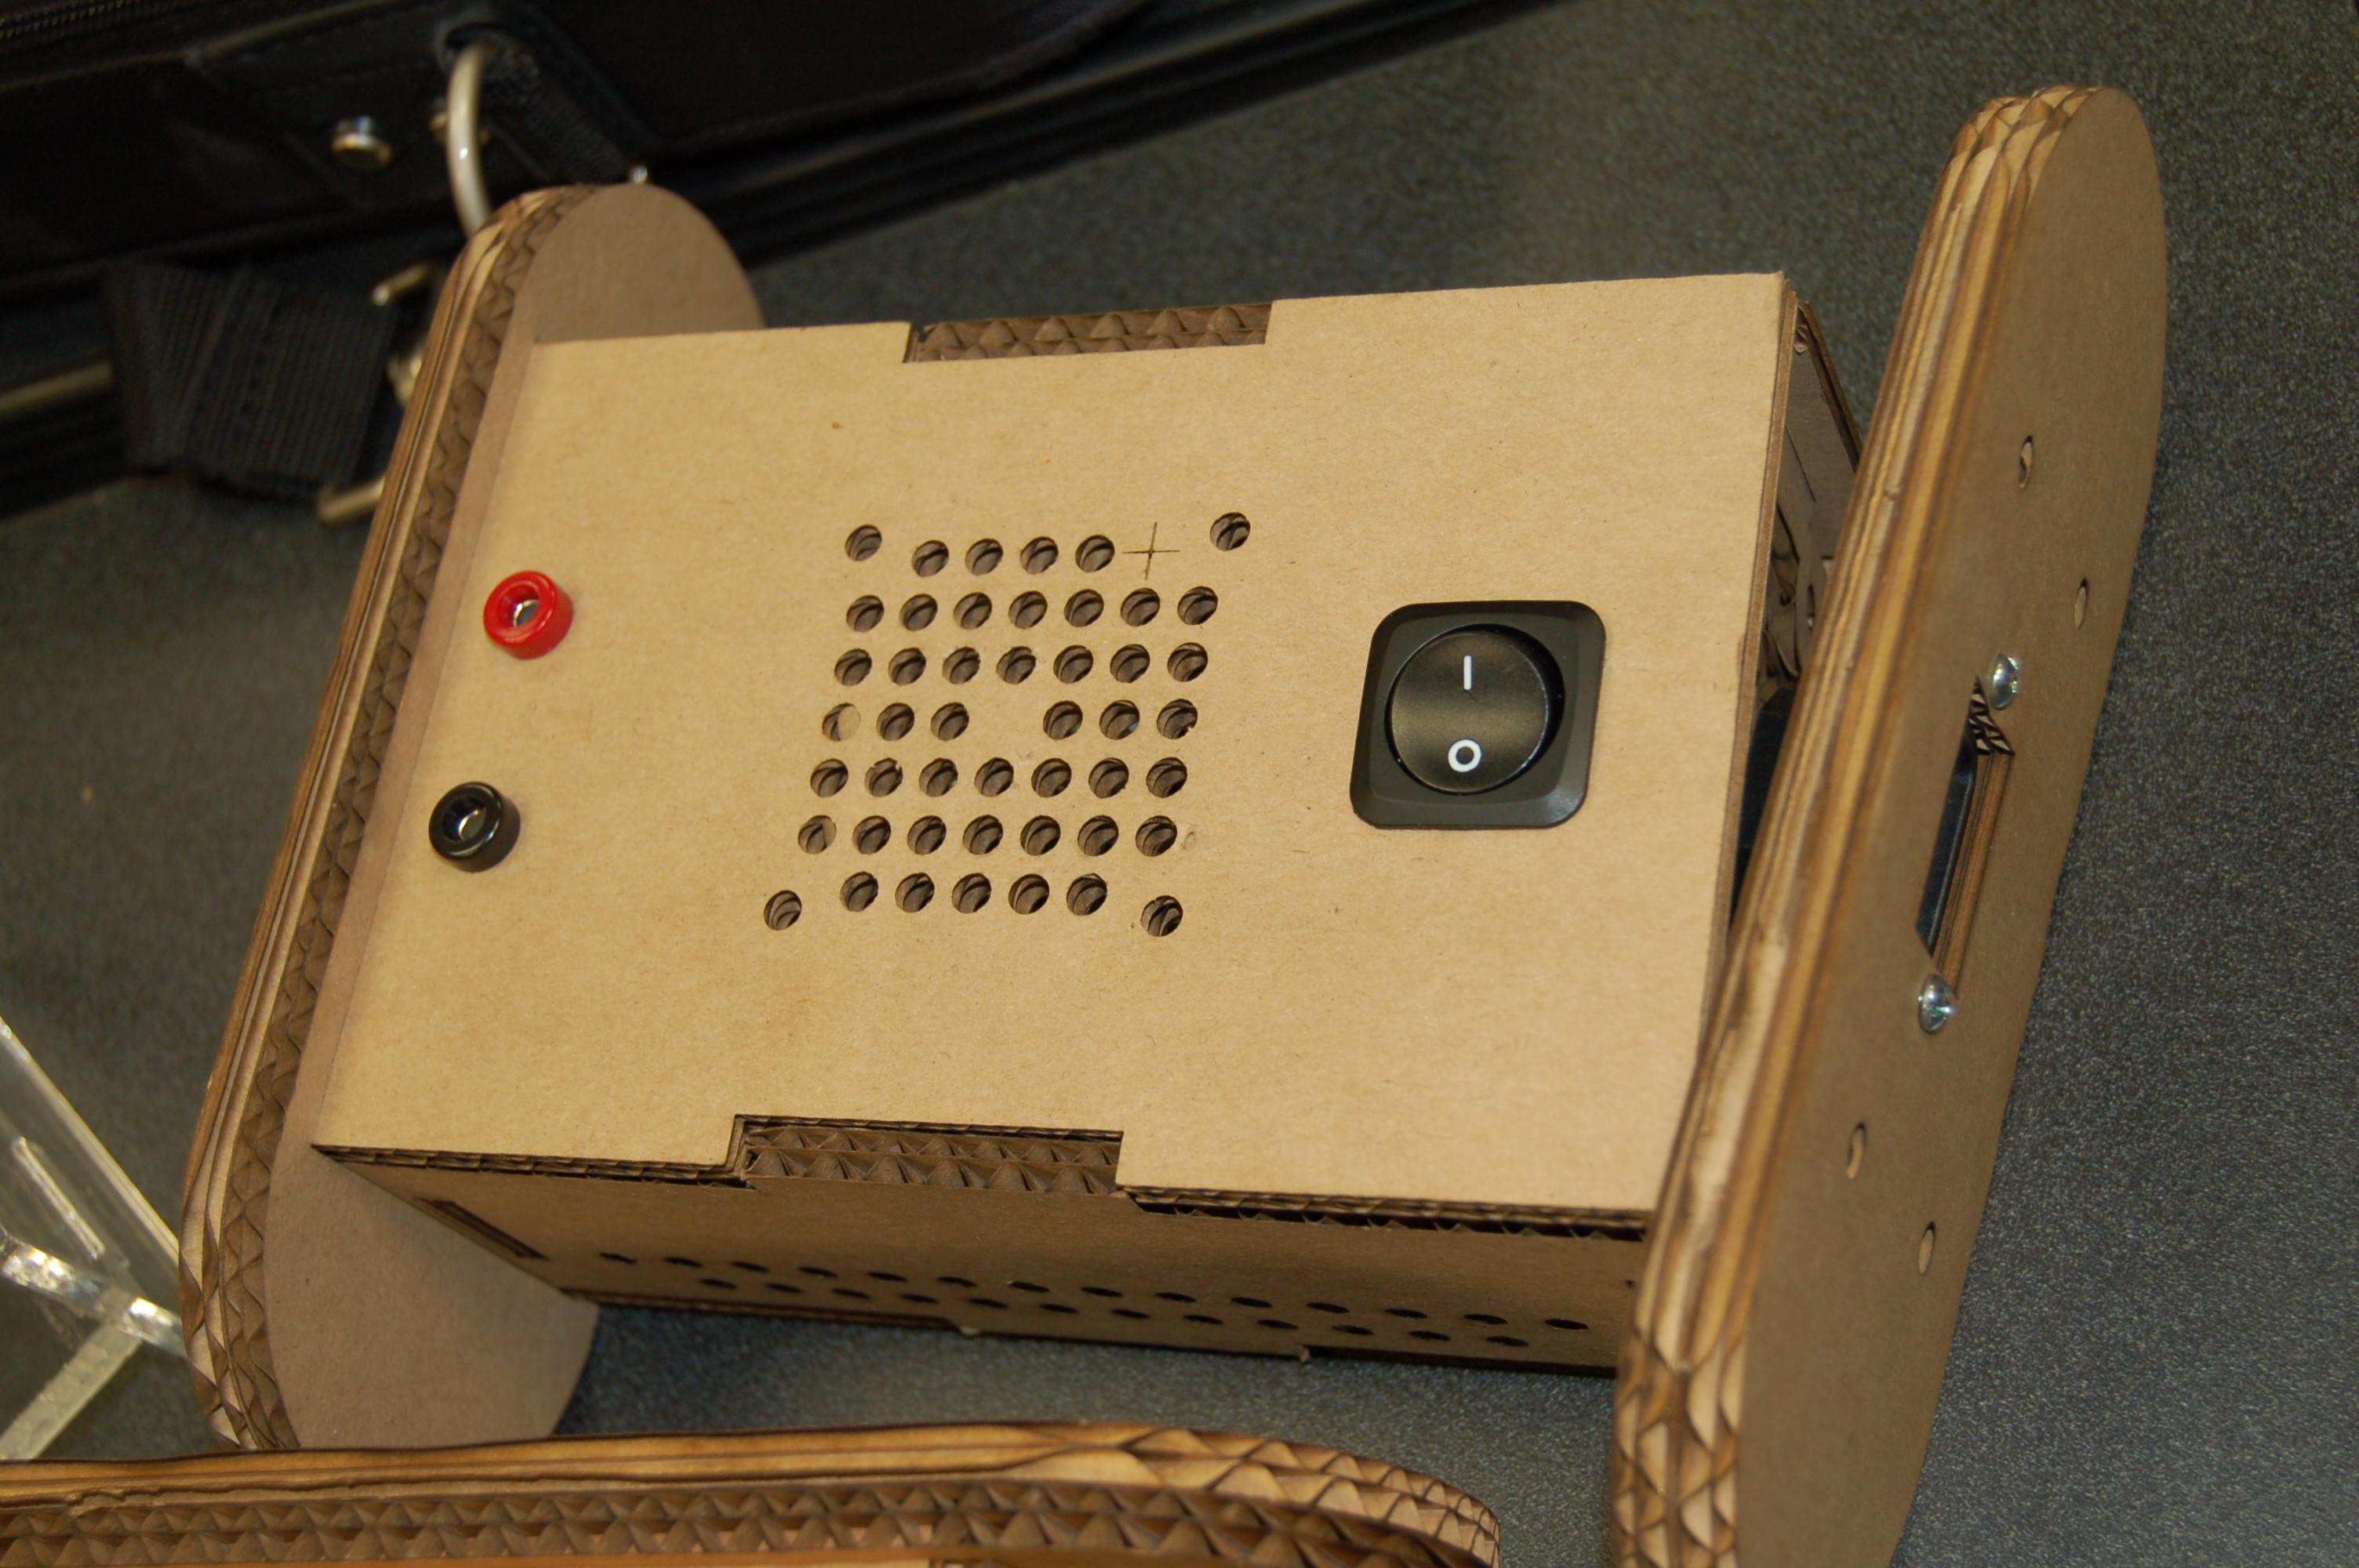
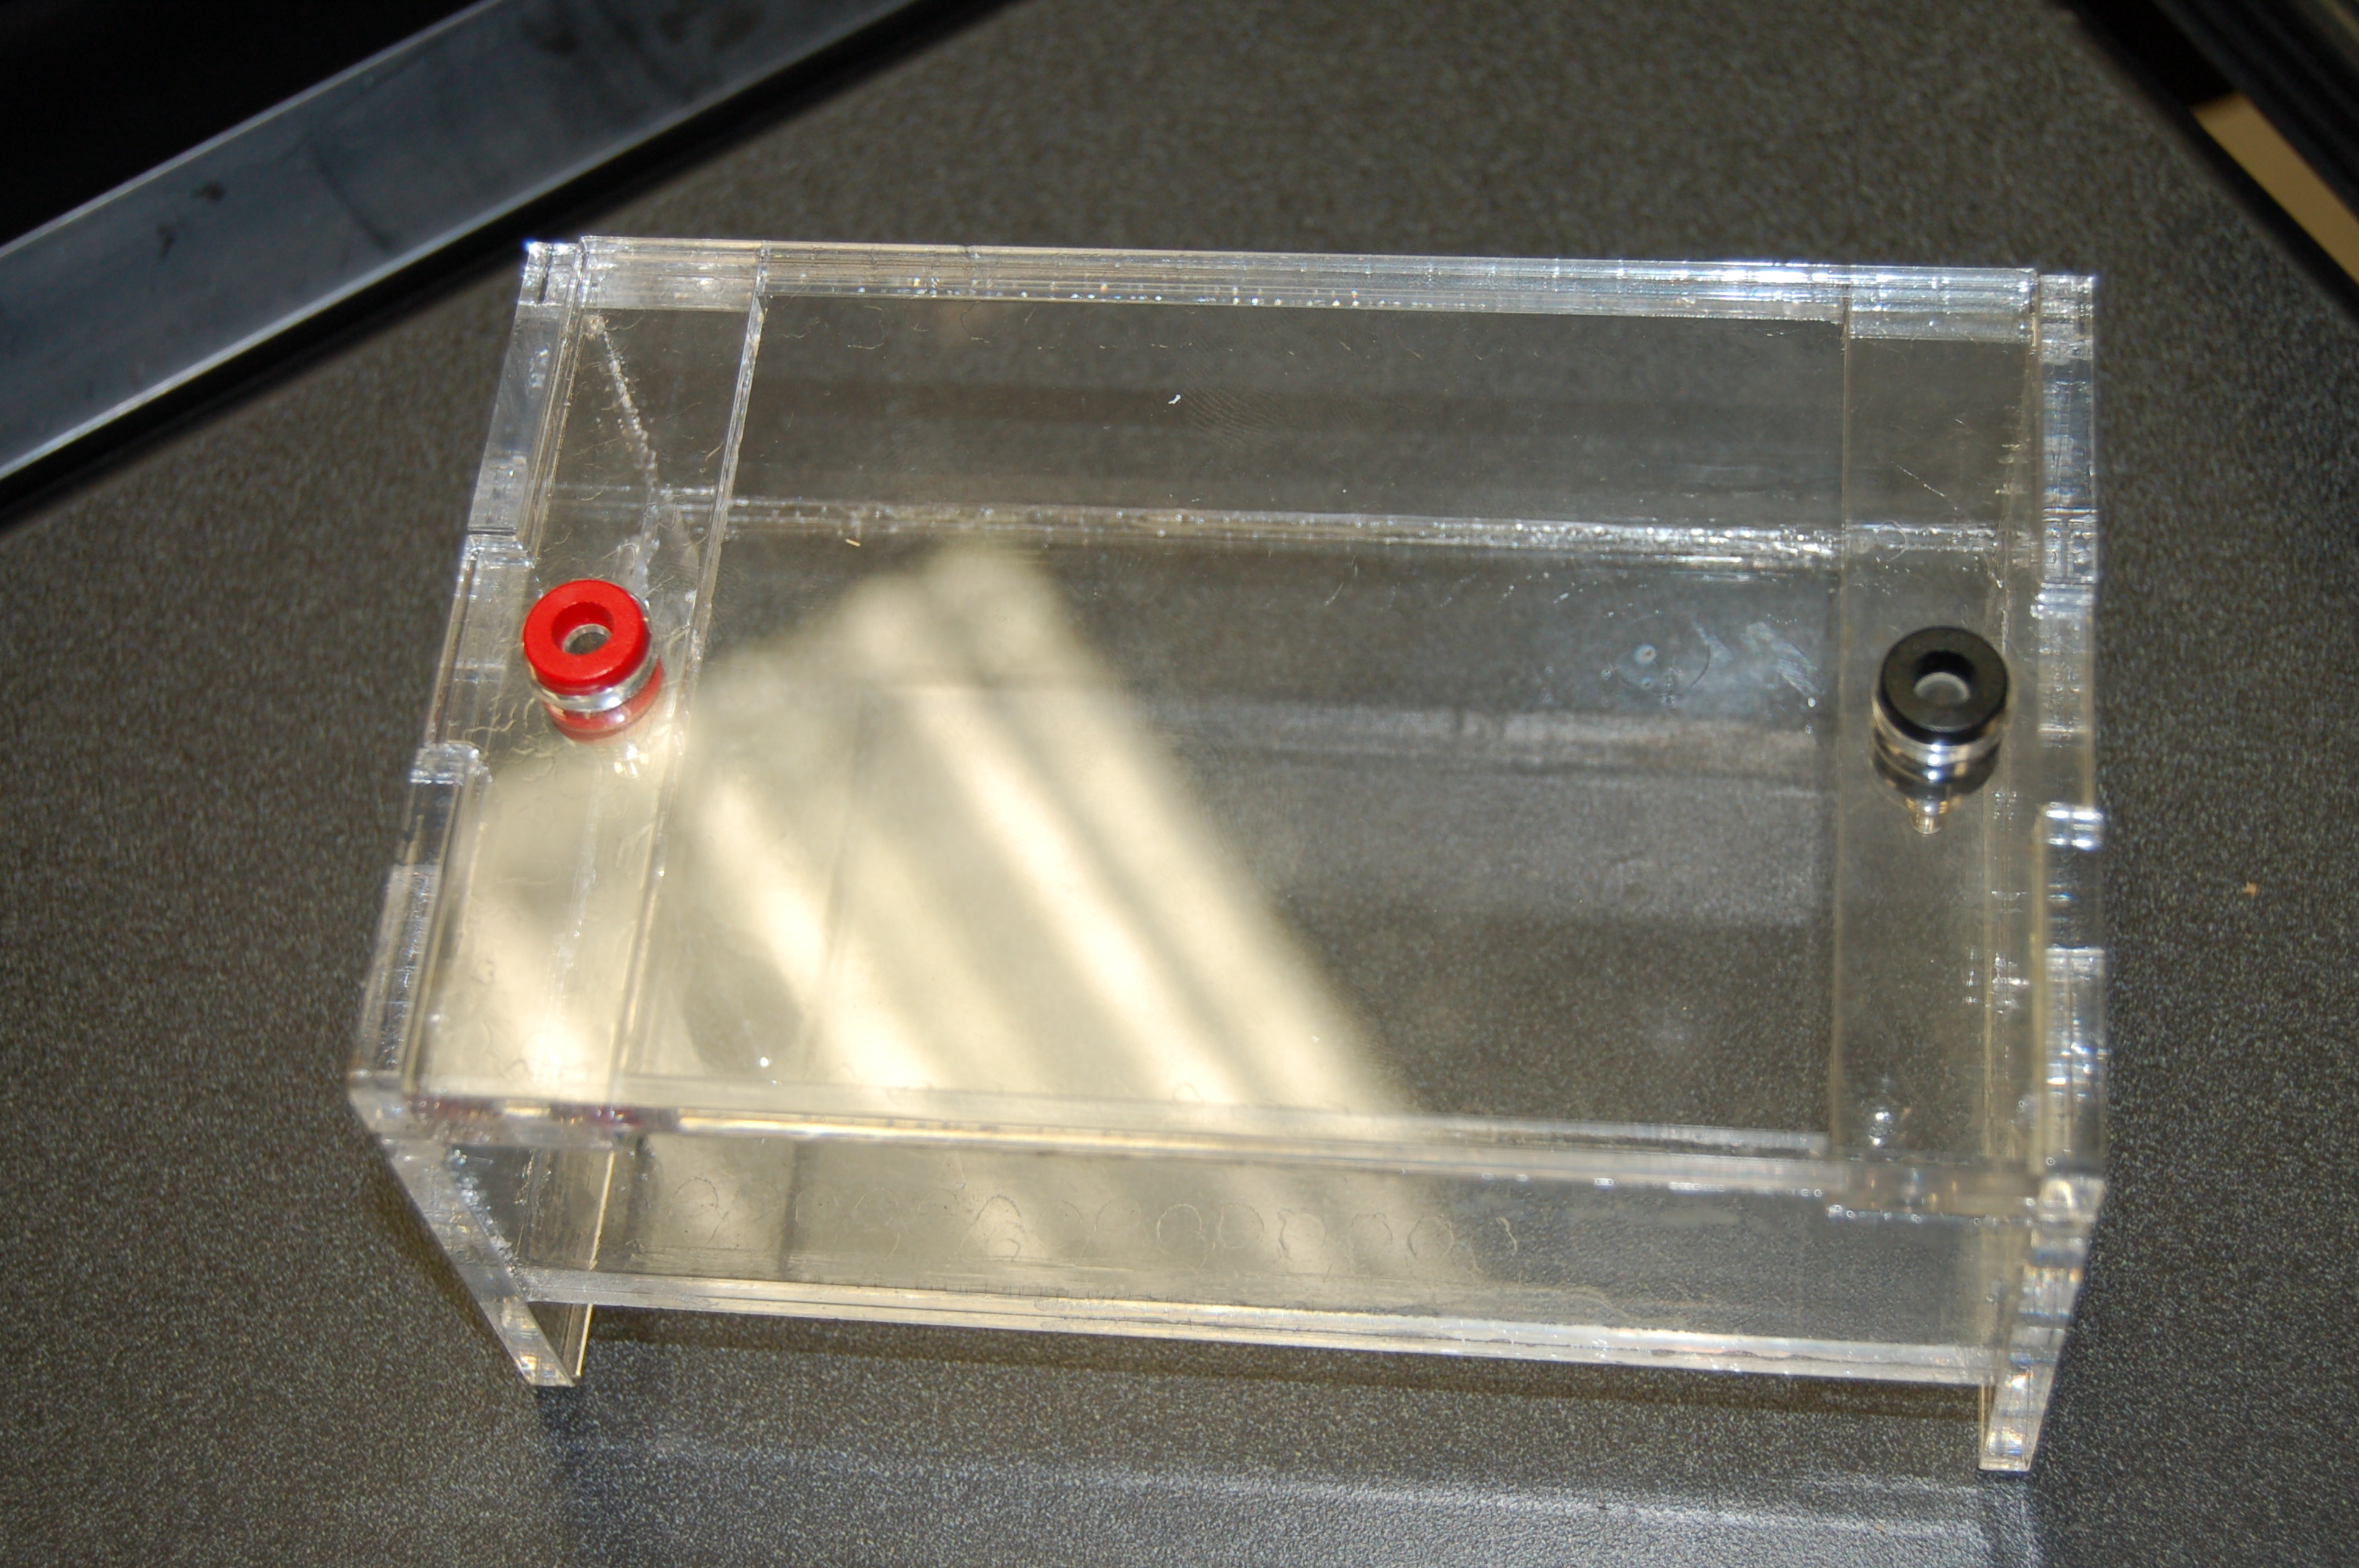
| + | Semi-Final Equipment Mockups<br> | ||
| + | [[image:DIYelectrophoresis1.JPG|300px]] [[image:DIYelectrophoresis2.JPG|300px]] | ||
| + | |||
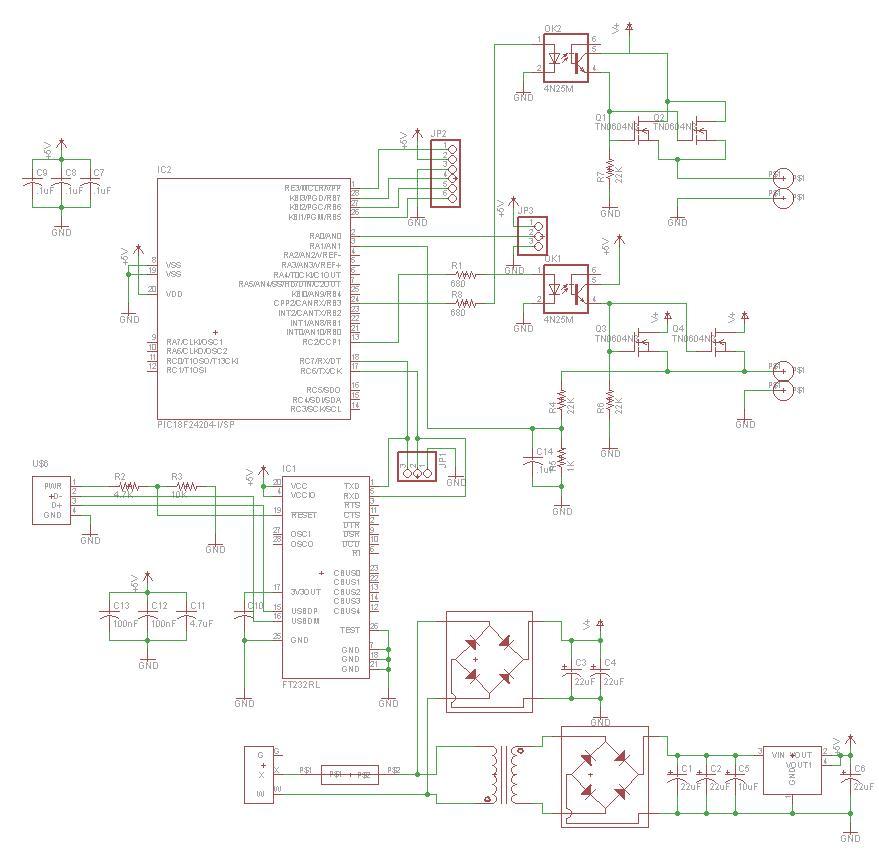
| + | First design integrating power and control onto the same board. Worked but we decided to seperate the power and the control for safety and cost reasons. | ||
| + | [[image:Baltimore_US_EPDesign1.jpg|300px]] | ||
| + | |||
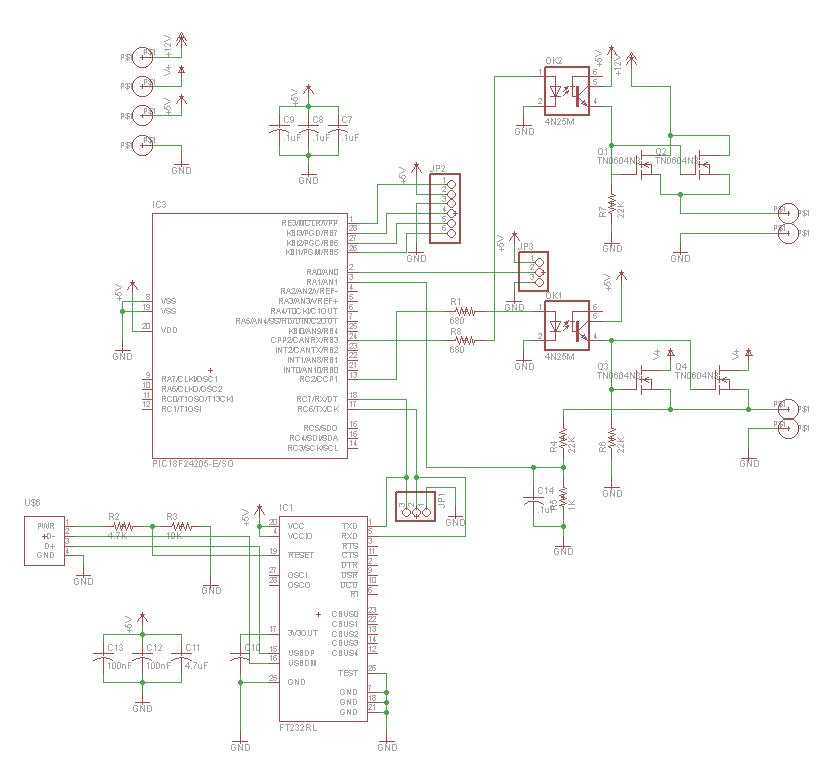
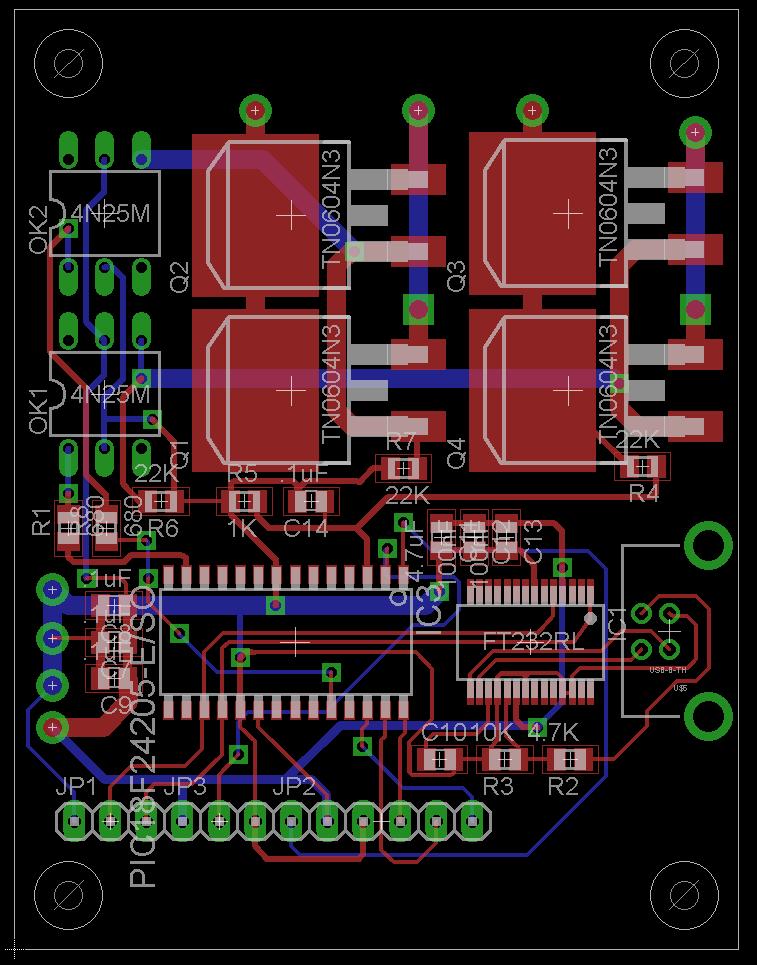
| + | Several designs we made separated power and control. The first three of these were laid out several times for ease of construction. The designs worked, however only for the electrophoresis. They consisted of a simple bridge circuit, voltage sensor, and a micro controller driving the circuit. A design decision was made to attempt to get the electrophoresis and the PCR working with the same control electronics. This meant that since we were going to use a Peltier device for the PCR, we could not use a simple bridge like we used in this design. <br> | ||
| + | [[image:Baltimore_US_EPDesign2.jpg|300px]][[image:Baltimore_US_EPBoard2.jpg|300px]]<br> | ||
| + | |||
| + | For the final design we decided to separate the main controller from the bridges completely. We added a low power H-Bridge to heat the lid of the PCR device and added a temperature sensor to allow us to read the PCR temperature and implement a simple control loop. | ||
| + | <br> | ||
| + | |||
|} | |} | ||
Latest revision as of 03:16, 28 October 2010
| Home | Team | Official Team Profile | Project | Submitted Parts | Modeling | Notebook | Meeting/Lab Times | Safety |
|---|
 "
"

